پولیش تهران / مرجع تخصصی محصولات پولیش و لوازم پرداخت کاری
درباره ما
تماس با ما
محصولات
کیفیت شعار محصولات تولیدی تهران پولیش نیست، بلکه میتوان گفت که اعتبار ما ارائه محصولات با کیفیت بر اساس استانداردهای روز دنیاست

How to create soft, shimmering surfaces with felt?


Alright, here's a 600-word-ish description, keeping the language accessible and focusing solely on practical advice for creating soft, shimmering surfaces using felt, confined to the content expected within a `div`: Soft, shimmering felt surfaces offer a unique tactile and visual appeal, bridging the gap between rustic texture and subtle elegance. Achieving this effect requires careful attention to felt selection, surface preparation, and techniques that enhance light reflection. It's a captivating blend of materials and methods. **Felt Selection: The Foundation of Shimmer** Not all felt is created equal. For shimmer, prioritize wool felt or wool-blend felts with a higher wool content. Wool fibers possess a natural crimp that scatters light beautifully. Synthetic felts, while durable, tend to lack this inherent light-reflecting quality. Consider the weave and density of the felt. Tightly woven, dense felts will provide a smoother base for shimmer enhancement, while looser weaves can create interesting textural effects but might require additional stabilization. Fiber length also matters; longer fibers often create a more luxurious feel. Experiment with different thicknesses to find the ideal balance between structure and drape. Don't forget colors; lighter colors reflect more light inherently, which can boost the shimmering effect, but darker shades can be successfully treated to create areas of highlighted shimmer and contrast. **Surface Preparation: The Canvas for Brilliance** Before applying any shimmering treatments, ensure your felt surface is clean, smooth, and free from imperfections. Lint rollers can be your best friend for removing loose fibers. Ironing can help flatten and smooth the felt, especially if it has been stored folded. For larger pieces, consider blocking the felt to ensure it lies flat during the shimmer application process. Blocking involves wetting the felt, stretching it into the desired shape, and allowing it to dry completely. This helps prevent puckering and warping. Take extra care with delicate or thinly woven felts, as they can be easily distorted. If your felt piece contains seams, ensure they are flat and well-secured to avoid any bumps or ridges that could detract from the shimmer. **Techniques for Achieving Shimmer:** Several techniques can bring that shimmer to life. **Metallic Paints and Pigments:** Liquid metallic paints, acrylics blended with iridescent pigments, or specialized textile paints are excellent for directly applying shimmer. Opt for fine shimmer particles -- larger glitter bits can look garish. Apply in thin, even layers using a soft brush or sponge to avoid streaks or uneven coverage. Build up the shimmer gradually, allowing each layer to dry completely before applying the next. Experiment with diluted paints and washes to create subtle, shimmering effects. Stencils can be used to create patterned areas of shimmer, adding visual interest and complexity. **Embossing and Heat Transfer Foils:** Embossing felt creates raised patterns that catch the light. Use an embossing machine or hand tools to create your designs. Apply heat transfer foil in metallic colors over the embossed areas using a heat press or iron. The foil will adhere to the raised portions, creating a shimmering relief effect. This is an excellent method for creating intricate designs with precise shimmer placement. This method is especially effective in creating highly personalized felt design. **Beads, Sequins, and Metallic Threads:** Hand-sewing or machine-attaching beads, sequins, or metallic threads is a classic way to add shimmer to felt. Seed beads, bugle beads, and sequins in various sizes and colors can create dazzling effects. Metallic embroidery floss or thread can be used to create shimmering outlines, patterns, or textures. Consider using a variety of beadwork stitches to add depth and dimension to your designs. Couching techniques can be employed to secure thicker metallic threads to the surface of the felt. **Surface Rubs and Waxes:** Specialized metallic waxes and rubs can be applied to the felt surface to highlight texture and create a subtle shimmer. These products are typically applied with a soft cloth or sponge and then buffed to a sheen. This technique is particularly effective for highlighting embossed or textured surfaces. A light touch is key, and using gentle circular motions helps distribute the product evenly. **Final Touches and Considerations:** Always test your chosen technique on a scrap piece of felt before applying it to your final project. This will allow you to fine-tune your technique and avoid any unpleasant surprises. Protect your finished shimmering felt surface with a sealant or fixative to prevent the shimmer from rubbing off over time. Handle your shimmering felt pieces with care to avoid damaging the surface. Remember that combining shimmering techniques can yield amazing, unique results, so don’t be afraid to experiment and layer effects.
نمد درخشان
نمد درخشان

با تکنیک‌های ساده، نمدی نرم و براق بسازید.

بیشتر بدانید

ساخت سطوح نرم و درخشان با نمد: راهنمای جامع

نمد، ماده ای همه کاره و در دسترس، امکان ایجاد بافت ها و سطوح متنوعی را فراهم می کند. در این راهنما، به بررسی چگونگی بهره گیری از نمد برای خلق سطوح نرم، درخشان و جذاب می پردازیم. از انتخاب مواد مناسب تا تکنیک های پرداخت نهایی، تمامی مراحل به طور مفصل توضیح داده خواهند شد.

مواد و وسایل مورد نیاز

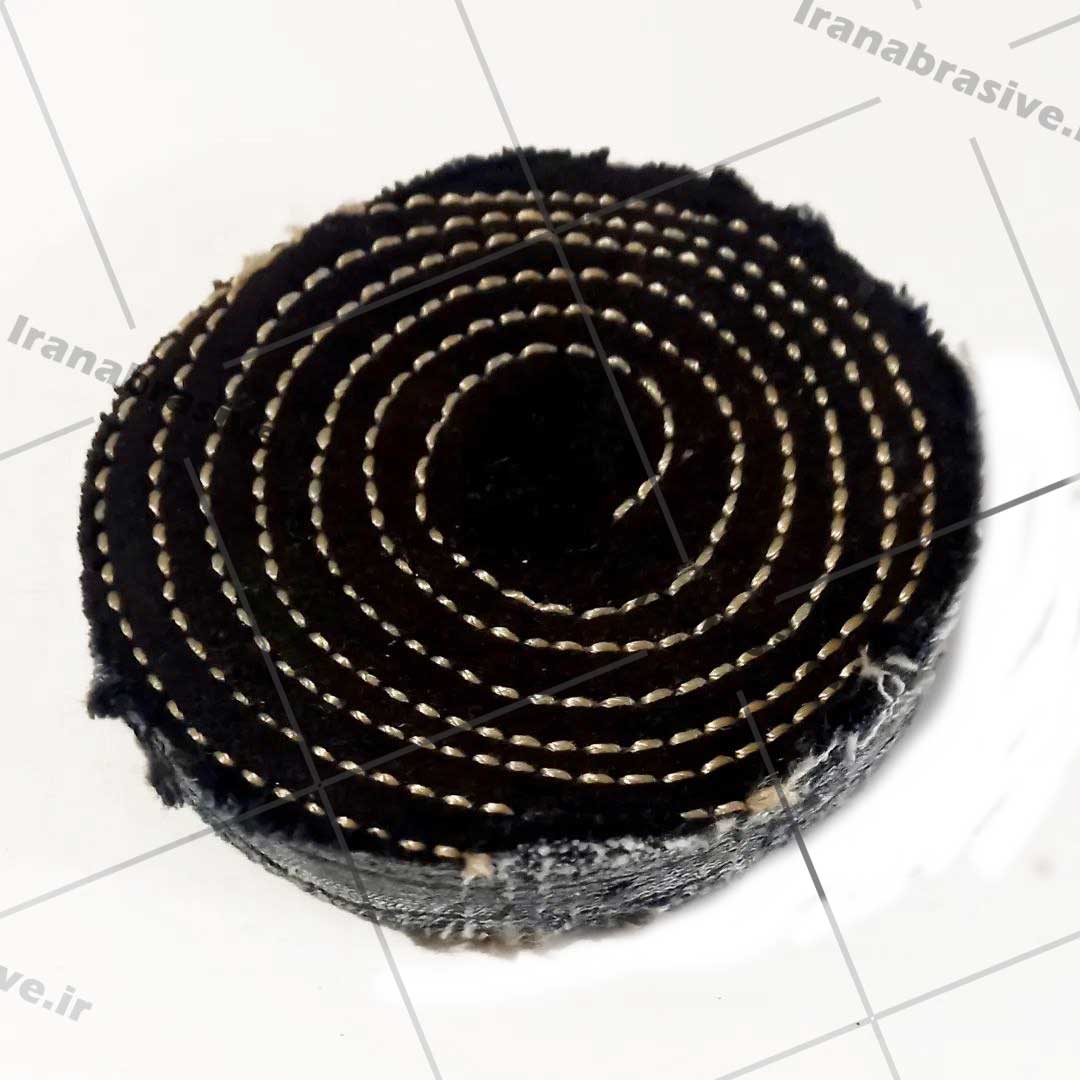
برای شروع، به مواد و ابزار زیر نیاز خواهید داشت:

  • نمد در رنگ ها و ضخامت های مختلف
  • قیچی تیز یا کاتر
  • چسب مخصوص نمد یا چسب حرارتی
  • نخ و سوزن
  • مداد یا خودکار محو شونده
  • الگوها (در صورت نیاز)
  • لوازم تزئینی (دکمه، مهره، پولک و ...)
  • ابزار پرداخت کاری (اختیاری - برای ایجاد سطوح درخشان)

جهت اطلاع از قیمت سنباده رولی به سایت تهران پولیش (tehranpolish.com) مراجعه کنید.

همچنین می توانید در مورد انواع سنباده رولی در سایت پولیش تهران (polishtehran.ir) مطالعه نمایید.

آشنایی با انواع نمد

نمدها در انواع مختلفی تولید می شوند که هر کدام ویژگی ها و کاربردهای خاص خود را دارند:

  • نمد پشمی: لطیف ترین و گران ترین نوع نمد است که برای پروژه های ظریف و لوکس مناسب است.
  • نمد اکریلیک: ارزان تر و بادوام تر از نمد پشمی است و برای پروژه های عمومی و آموزشی ایده آل است.
  • نمد پلی استر: مقاوم در برابر آب و لکه است و برای پروژه هایی که نیاز به شستشو دارند مناسب است.
  • نمد مخلوط: ترکیبی از الیاف مختلف است که ویژگی های هر دو نوع را دارا می باشد.

انتخاب نوع نمد مناسب، تاثیر بسزایی در نتیجه نهایی پروژه شما خواهد داشت.

آماده سازی نمد

قبل از شروع پروژه، بهتر است نمد را آماده کنید:

  • نمد را اتو کنید تا صاف و یکدست شود.
  • در صورت نیاز، نمد را با آب سرد بشویید و بگذارید خشک شود. (این کار باعث جلوگیری از آب رفتن نمد پس از اتمام پروژه می شود.)
  • الگوهای خود را روی نمد قرار دهید و با مداد یا خودکار محو شونده دور آن ها را بکشید.

آماده سازی صحیح نمد، کار با آن را آسان تر و نتیجه را زیباتر می کند.

تکنیک های برش نمد

برش دقیق نمد، از اهمیت بالایی برخوردار است:

  • از قیچی تیز یا کاتر استفاده کنید.
  • برش ها را با دقت و حوصله انجام دهید.
  • هنگام برش الگوهای پیچیده، از کاتر استفاده کنید.
  • نمد را روی یک سطح صاف و محکم قرار دهید تا برش تمیزتری داشته باشید.

تمرین و دقت، کلید برش های تمیز و حرفه ای است.

روش های چسباندن نمد

چسباندن صحیح نمد، باعث استحکام و زیبایی کار می شود:

  • از چسب مخصوص نمد یا چسب حرارتی استفاده کنید.
  • چسب را به مقدار کم و یکنواخت روی نمد بمالید.
  • قطعات را به دقت روی هم قرار دهید و با دست فشار دهید تا به هم بچسبند.
  • از گیره یا وزنه برای نگه داشتن قطعات در جای خود استفاده کنید تا چسب خشک شود.

استفاده صحیح از چسب، از ایجاد لکه و تغییر شکل نمد جلوگیری می کند.

تزئین و زیباسازی نمد

تزئین نمد، به پروژه شما شخصیت و جذابیت می بخشد:

  • از دکمه، مهره، پولک، سنگ های تزئینی و ... برای تزئین نمد استفاده کنید.
  • با نخ و سوزن، طرح های مختلف روی نمد بدوزید.
  • از رنگ های پارچه برای نقاشی روی نمد استفاده کنید.
  • از گلدوزی و روبان دوزی برای ایجاد طرح های برجسته استفاده کنید.

خلاقیت خود را به کار بگیرید و از تزئینات مختلف برای زیبا تر کردن پروژه خود استفاده کنید.

لمس های نهایی و پرداخت نمد

پرداخت نهایی، به نمد جلای خاصی می بخشد:

  • لبه های کار را مرتب کنید.
  • نخ های اضافی را ببرید.
  • از مواد پرداخت کاری مخصوص نمد برای ایجاد سطحی درخشان استفاده کنید.
  • با یک پارچه نرم، سطح نمد را تمیز کنید.

پرداخت نهایی، آخرین مرحله ای است که به پروژه شما جلوه ای حرفه ای می بخشد.

ایده هایی برای پروژه های نمدی

با نمد می توانید پروژه های متنوعی خلق کنید:

  • عروسک های نمدی
  • جاکلیدی
  • زیر لیوانی
  • کوسن
  • آویزهای دیواری
  • تزئینات لباس

با کمی خلاقیت، می توانید ایده های جدیدی برای پروژه های نمدی پیدا کنید.

رفع مشکلات رایج

در حین کار با نمد، ممکن است با مشکلاتی مواجه شوید:

  • چسب به خوبی نمی چسبد: از چسب مخصوص نمد استفاده کنید و قطعات را به مدت کافی فشار دهید.
  • نمد ریش ریش می شود: از قیچی تیز استفاده کنید و لبه های کار را مرتب کنید.
  • رنگ نمد پخش می شود: از رنگ های پارچه با کیفیت استفاده کنید و قبل از استفاده، رنگ را روی قسمت کوچکی از نمد تست کنید.

با کمی دقت و حوصله، می توانید این مشکلات را به راحتی حل کنید.

Polish Tehran
پولیش تهران به عنوان مرجع معتبر مقایسه قیمت لوازم پولیش و پرداخت‌کاری، با هدف ارائه بهترین خدمات و مشاوره‌های تخصصی در این حوزه فعالیت می‌کند. ما زیر نظر وب‌سایت تهران پولیش به آدرس tehranpolish.com به تأمین نیازهای مشتریان و ارتقاء کیفیت خدمات پولیش و پرداخت‌کاری پرداخته و به شما کمک می‌کنیم تا بهترین انتخاب‌ها را داشته باشید. با تیمی مجرب و آشنا به تکنیک‌های روز، ما به شما مشاوره‌های لازم را ارائه می‌دهیم تا بتوانید از محصولات و تجهیزات پولیش به بهترین نحو استفاده کنید. هدف ما این است که با ارائه اطلاعات دقیق و به‌روز، به شما در دستیابی به بهترین نتایج در زمینه پولیش‌کاری و پرداخت‌کاری کمک کنیم. logo-samandehi
شبکه های اجتماعی
راه های ارتباطی

آدرس: اتوبان بعثت خ برادران قاسمی خ رضایی شرقی خ گشاده رو پ۲۰

آدرس کارخانه: تهران شور آباد خ مهدی آباد خ ۲۲ بهمن شرکت تهران پولیش

تلفن همراه: ۰۹۱۲۱۵۰۱۱۲۸

تلفن ثابت: ۰۲۱۳۶۳۱۸۵۰۶ (5 خط ویژه)

ایمیل: info@tehranpolish.com

تمامی حقوق برای وبسایت Polish Tehran محفوظ میباشد. MarCode>IR